Monday 17 June 2019

Summer Maintenance in London #1

Hi everyone,
Yes we should be sailing in summer but instead we're filling the cruising kitty (aka working) and working on the to-do list.

In May we spent two weeks home in Perth.  That 787 Dreamliner certainly does go to windward like a dream.  We had a fantastic holiday spending time with family and at our home club - Fremantle Sailing Club.

Back in London we got started on our major project for the summer - refurbishing the head compartment.  During the winter we replaced the old electric toilet with a Blake's Lavac toilet.  Now we're refurbishing the compartment as a whole.  It's still in its original form - circa 1986.  The moulded GRP "shell" had started life cream in colour but became brownish over the decades.

This post describes the first three weekends of the project.

Ready for a make-over
We started with removal of the teak trim.  There was trim around the GRP headliner, a fiddle along the worktop edge, a grab handle, and the four teak locker surrounds.  The trim and fiddle were secured by "buried" screws.  We removed them by drilling out the teak plug then unscrewing.

Old deck-head GRP panel stripped of teak, light and dorade vent surround

The next step was removal of the moulded sink which we've never liked - too shallow and the flow-coat was badly cracked.  Our trusty Dremel did the hard work with ease.

Cutting out the old sink
The moulding of the old sink extended up the wall by about 25mm, so we knew we'd need a "splashback" to cover it.

Old sink gone
Next we removed the Blake's Lavac and got to work sanding.  That was dusty work!  We sanded by hand using 150 grade paper.  We did a lot of filling to hide 30 years of holes for old fixtures.  Our Dyson vacuum did a great job cleaning up after the sanding.

Ready to sand

We then applied Epifanes epoxy primer overall.  750ml gave us 2 coats over most of the compartment with the dregs used to paint the locker below the sink.  We used left-over rollers which "shed" so we'll be using foam rollers for the next coats.

The next step was to cut out a new GRP panel to cover the holes used over the years for hoses to and from several toilets.  The panels we used are about 2.5mm thick with one side having a painted finish.  A tenant saw did a nice job on the linear cuts and a hole saw likewise for the hose penetrations.  We made a paper template of the panel first!

Painted GRP panel
In keeping with the "bling" style we've adopted in the saloon the panel was screwed in using cup washers.

GRP panel fitted (screwed and glued)
While working on the compartment we were also working on the teak trim.  They were sanded back to bare wood and then 4 coats of varnish applied.

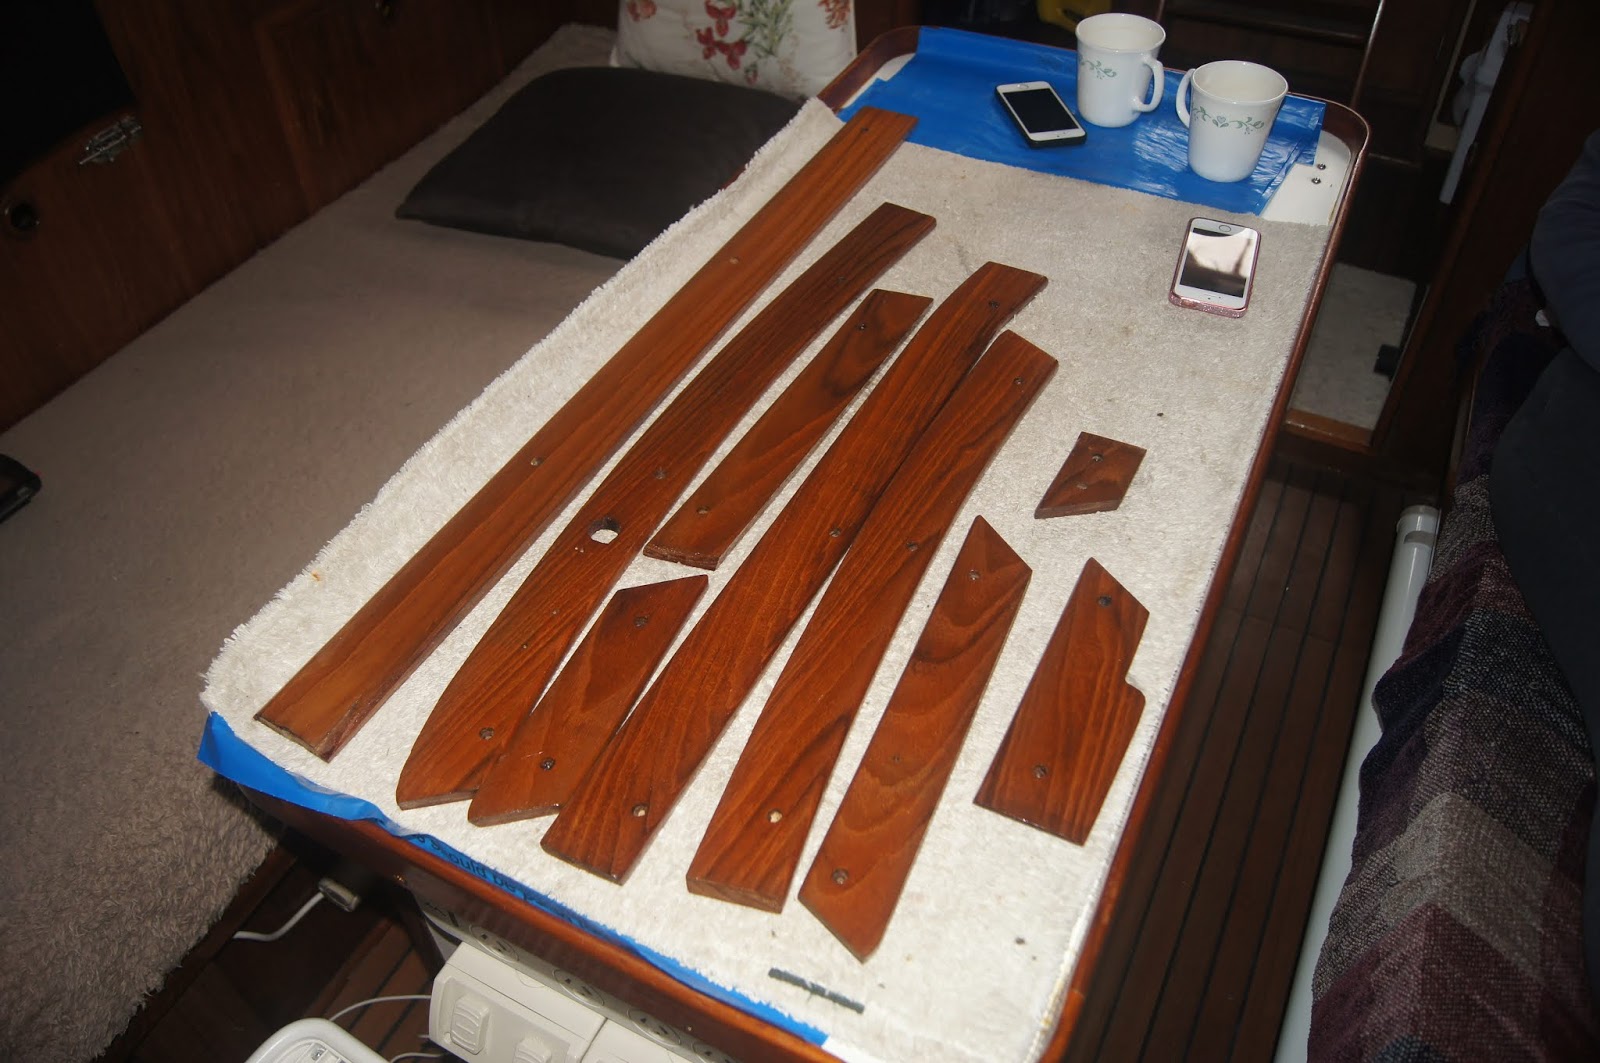
Revarnished teak trim
While waiting for additional primer paint we got to work on the new "worktop".  A paper template was used, and the first panel layer was screwed and glued in place using counter-sunk screws.  This gave a good level surface when supported from below by a marine ply board mounted to the wall.

First layer of GRP panel worktop
A second GRP panel was fitted to give a more rigid surface.  It was glued in place without screws to leave a clean surface.  It needed compression...

Second layer of GRP panel under compression
Next we needed to create the cut-out for the new s/s sink.  The Dremel with its radius arm did the job easily.

Hole cutting with the Dremel
Finally (for this episode) we fitted two GRP panels as "splashbacks".  Each is screwed and glued in place with the necessary "bling" look.

Splashbacks in place
Over the next few weekends we hope to complete the job.  The remaining work includes more coats of primer, several coats of topcoat, and refitting old and new fixtures.  We're happy with how it's coming along.

Trust all's well where you are!


No comments:

Post a Comment