We've had several busy weekends recently. We've had great weather on most weekdays but less so on weekends. So we've been working on the to-do list. The main items have been air vanes, watercatcher drains and windlass...
Air Vanes
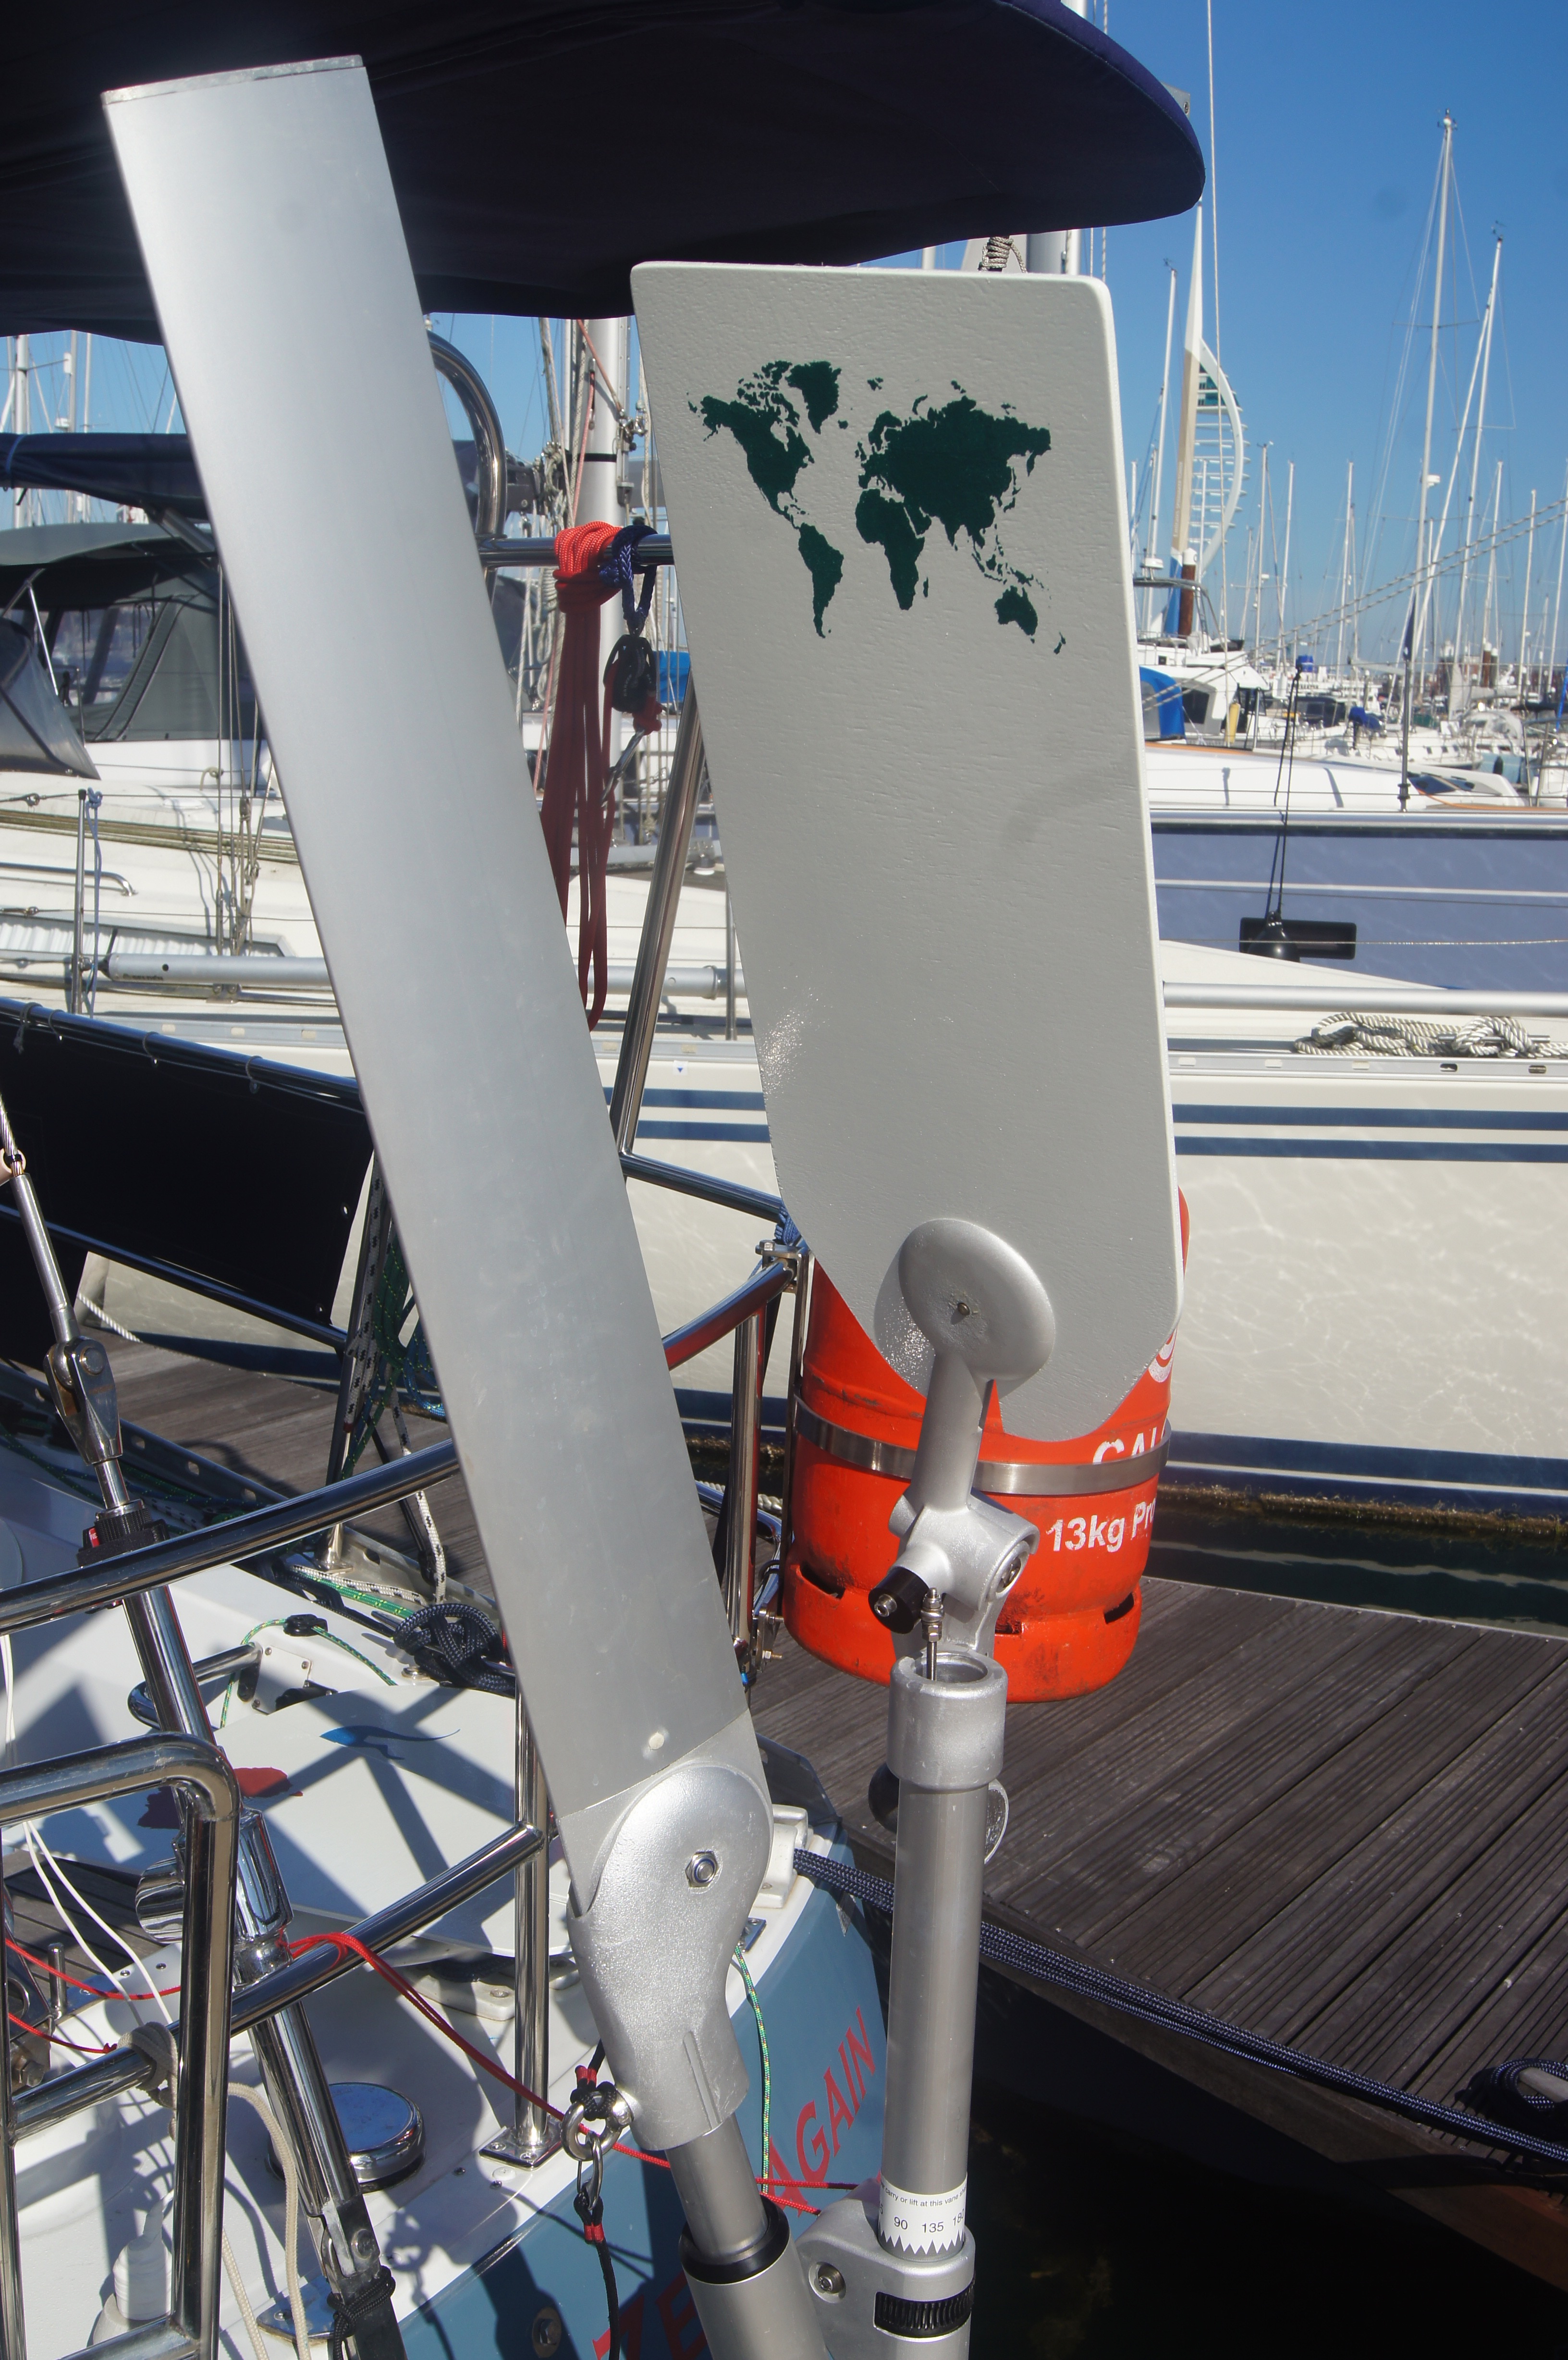
As described in the preceding post we now have a new WindPilot Pacific vane gear. The standard air vane is too tall to clear our goalpost so we needed to make replacements. An important factor was to keep their weight close to that of the standard vane - about 400g bare wood and 500g painted. We purchased two panels of 6mm marine ply and got to work.
 |
| Marking |
 |
| Cutting |
Cutting out the four vanes took a morning. Sanding them to prepare them for painting took an afternoon. Painting took several days to get on since we had to source more paint.
 |
| Painting |
 |
| Drying |
We liked the shapes but thought them rather bare, especially after looking at WindPilot vane art here. So we bought some stencils and got to work.
 |
| Decorating |
Here are the resulting vanes in place. The Z is decorative - not sure it'd last long in action! We may add Zen Again's travels to the world map.


Raincatcher Drains
The next job was to adapt the drain fittings provided with the canvas to suit our needs. We didn't want to use a barbed fitting and instead wanted the garden-type click-in fittings.
Luckily the drains provided had an inside diameter very close to that of the fixed part of the click-in fittings. So we could cut off the barbed part of one and the hose connection part of the other and they slotted into each-other beautifully. Sometimes ya just get lucky! Add a little sika and job done.
 |
| Old tail cut off |
 |
| Click-in fitting sika'ed in place |
 |
| Hoses cut to length for each drain |
Now we wait for a good downpour to try out the system! We expect a few alterations will be necessary to maximise 'yield'.
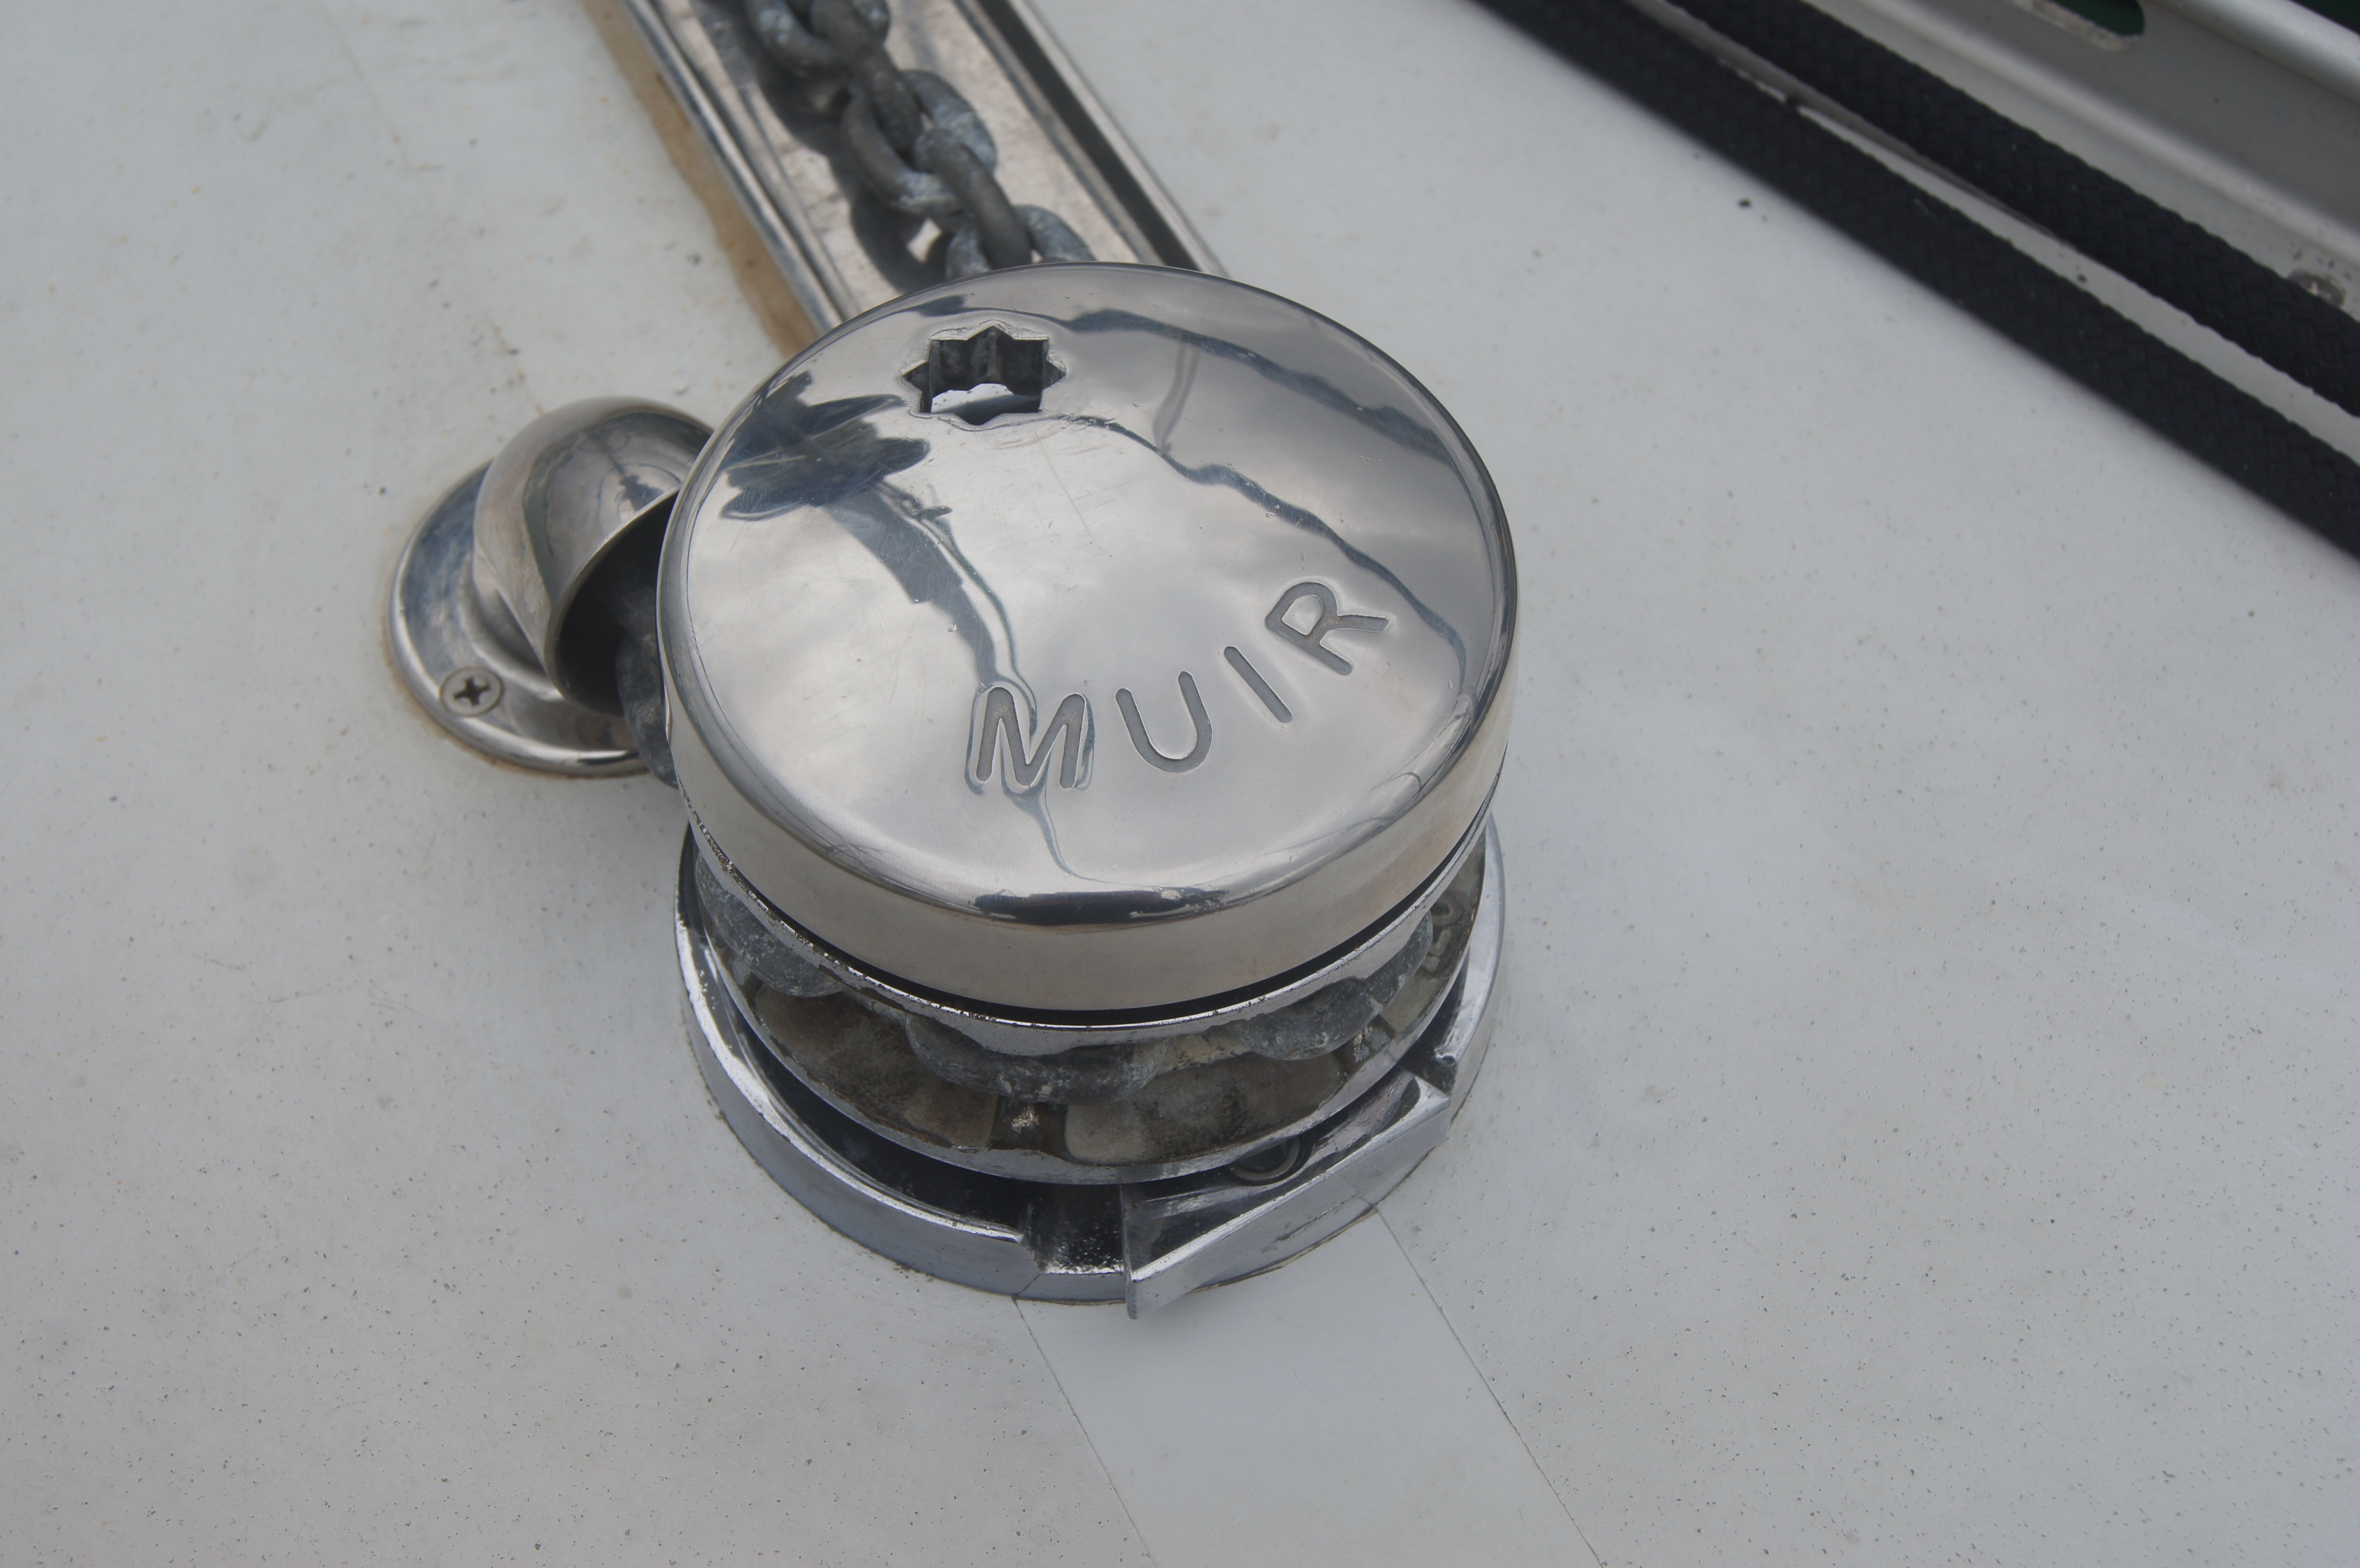
Windlass
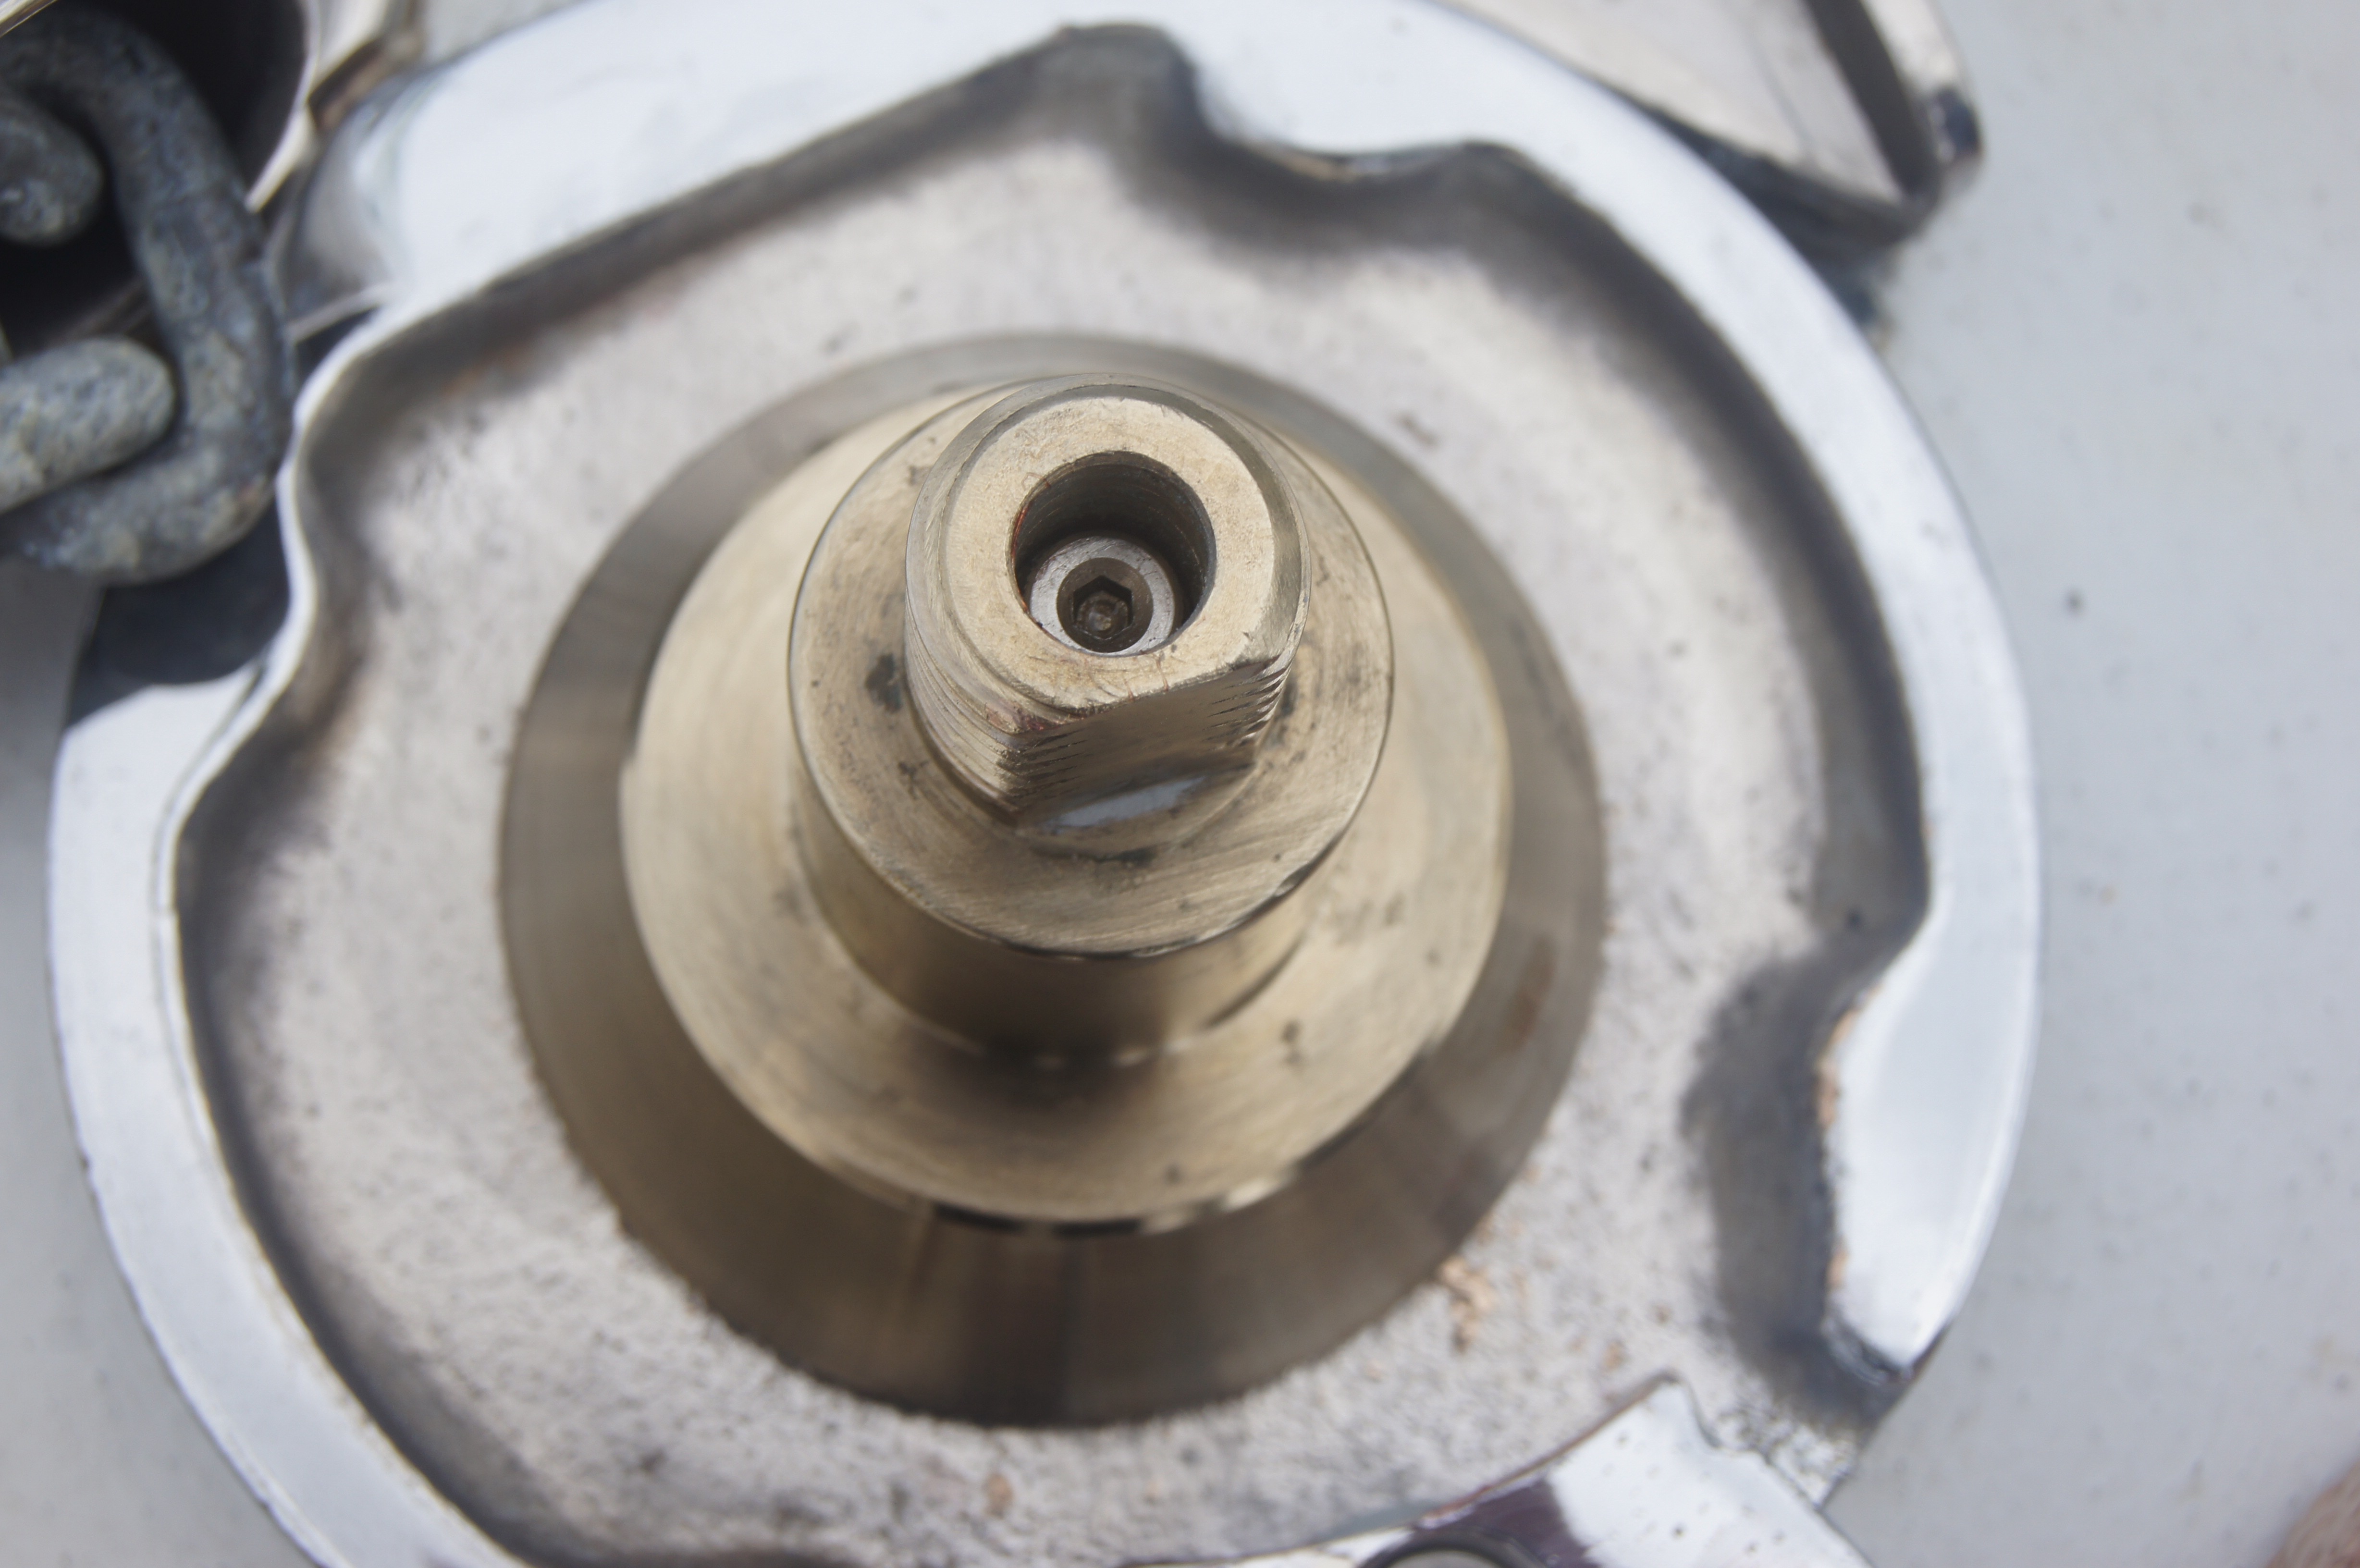
Time to fess up to a minor debacle. During our 2013 refit in Phuket the bow fitting was replaced. The new assembly provided an integrated forestay attachment, bow roller and chain trough. The trough extended aft to a new Muir manual windlass. Previously we'd had an electric windlass and chain locker which opened on deck.
It was a full year after we left Phuket until we noticed the trough came so close to the windlass that it prevented access to a screw securing the windlasses' chain peeler. That meant we couldn't disassemble the windlass to service it.
Several times over the intervening period the windlass has jammed. Not much fun pulling up the anchor hand over hand. At various locations we've tried to find a mechanic willing to take an angle grinder to the s/s trough. We finally found one last week here in Gosport. MarineTech got the job done in 15 minutes.
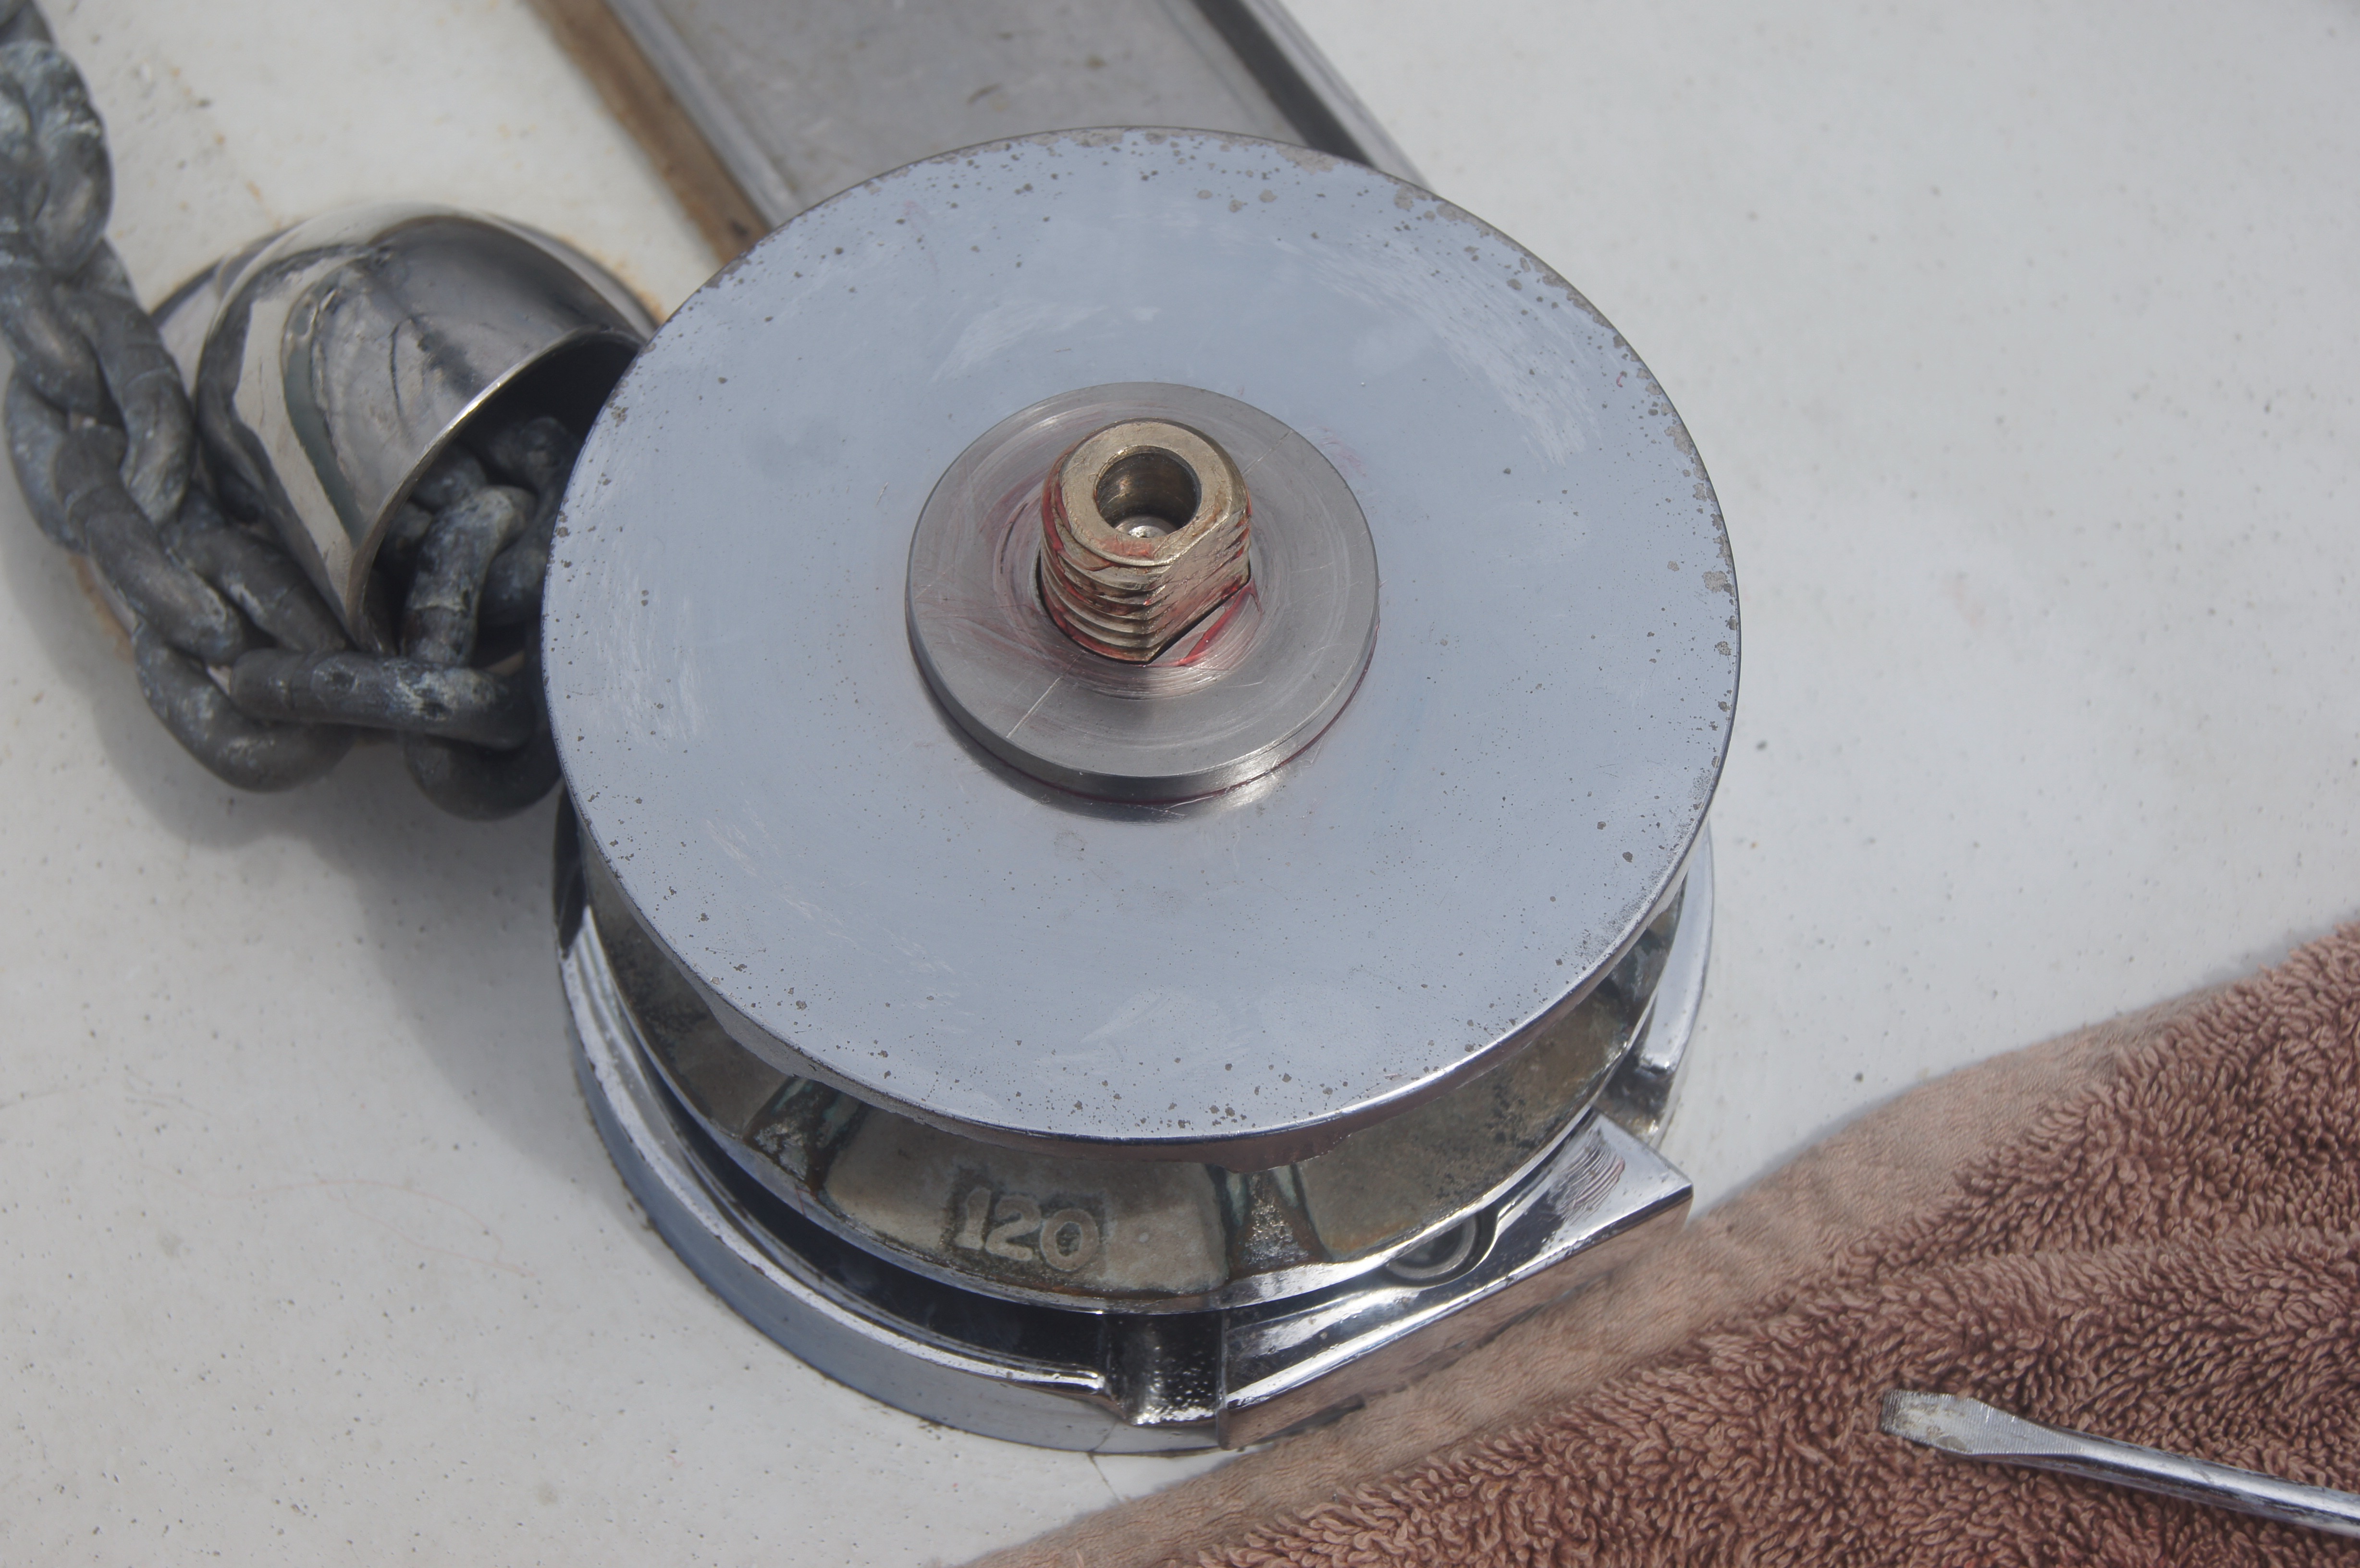
We could then get the peeler and gypsy off, but the cone below was jammed to the base. It took 4 days of WD40 and serious leverage to gradually work it loose. Muir in Australia and their UK agent were very helpful via email and phone.
 |
| Grinding |
 |
| Peeler & Gypsy Off |
 |
| Cone Off |
 |
| Pawl springs disintegrated |
With the windlass fully disassembled we could go to work cleaning up the parts. Emery paper and polish did the job nicely.
 |
| Ready to reassemble |
 |
| Base cleaned up and ready |
 |
| Pawls with new springs and plastic washer on |
 |
| Cone greased, on and secured |
 |
| Gypsy greased and on, and washer on |
 |
| Clutch nut (the top) fitted |
We still have a small problem with the windlass. While removing the cone I damaged the thread on its top. So the clutch nut doesn't spin on as easily as it did. Spinning easily is vital to correct operation. Working on that!
Trust all's well where you are!
No comments:
Post a Comment