Hi everyone,
This is a technical post. This week we installed a new radar system on Zen Again. When we bought the boat she had a 1990s Furuno radar. At our major refit in Thailand it was on its last legs so we disposed of it.
 |
| DRS4W mounted |
During our voyage from Australia to the UK we had several incidents where we were caught out by squalls - either at night or in overcast conditions. We resolved to fit a radar system before resuming bluewater cruising. Its primary role would be detecting the heavy rain usually associated with bad squalls.
When we started looking for a new radar our starting point was Furuno since we like their radars. The 1st Watch DRS4W system was particularly interesting since it provides a WiFi access point instead of a fixed display. This fitted our philosophy as described recently here, using iPads for chartplotting and real-time and trend data display.
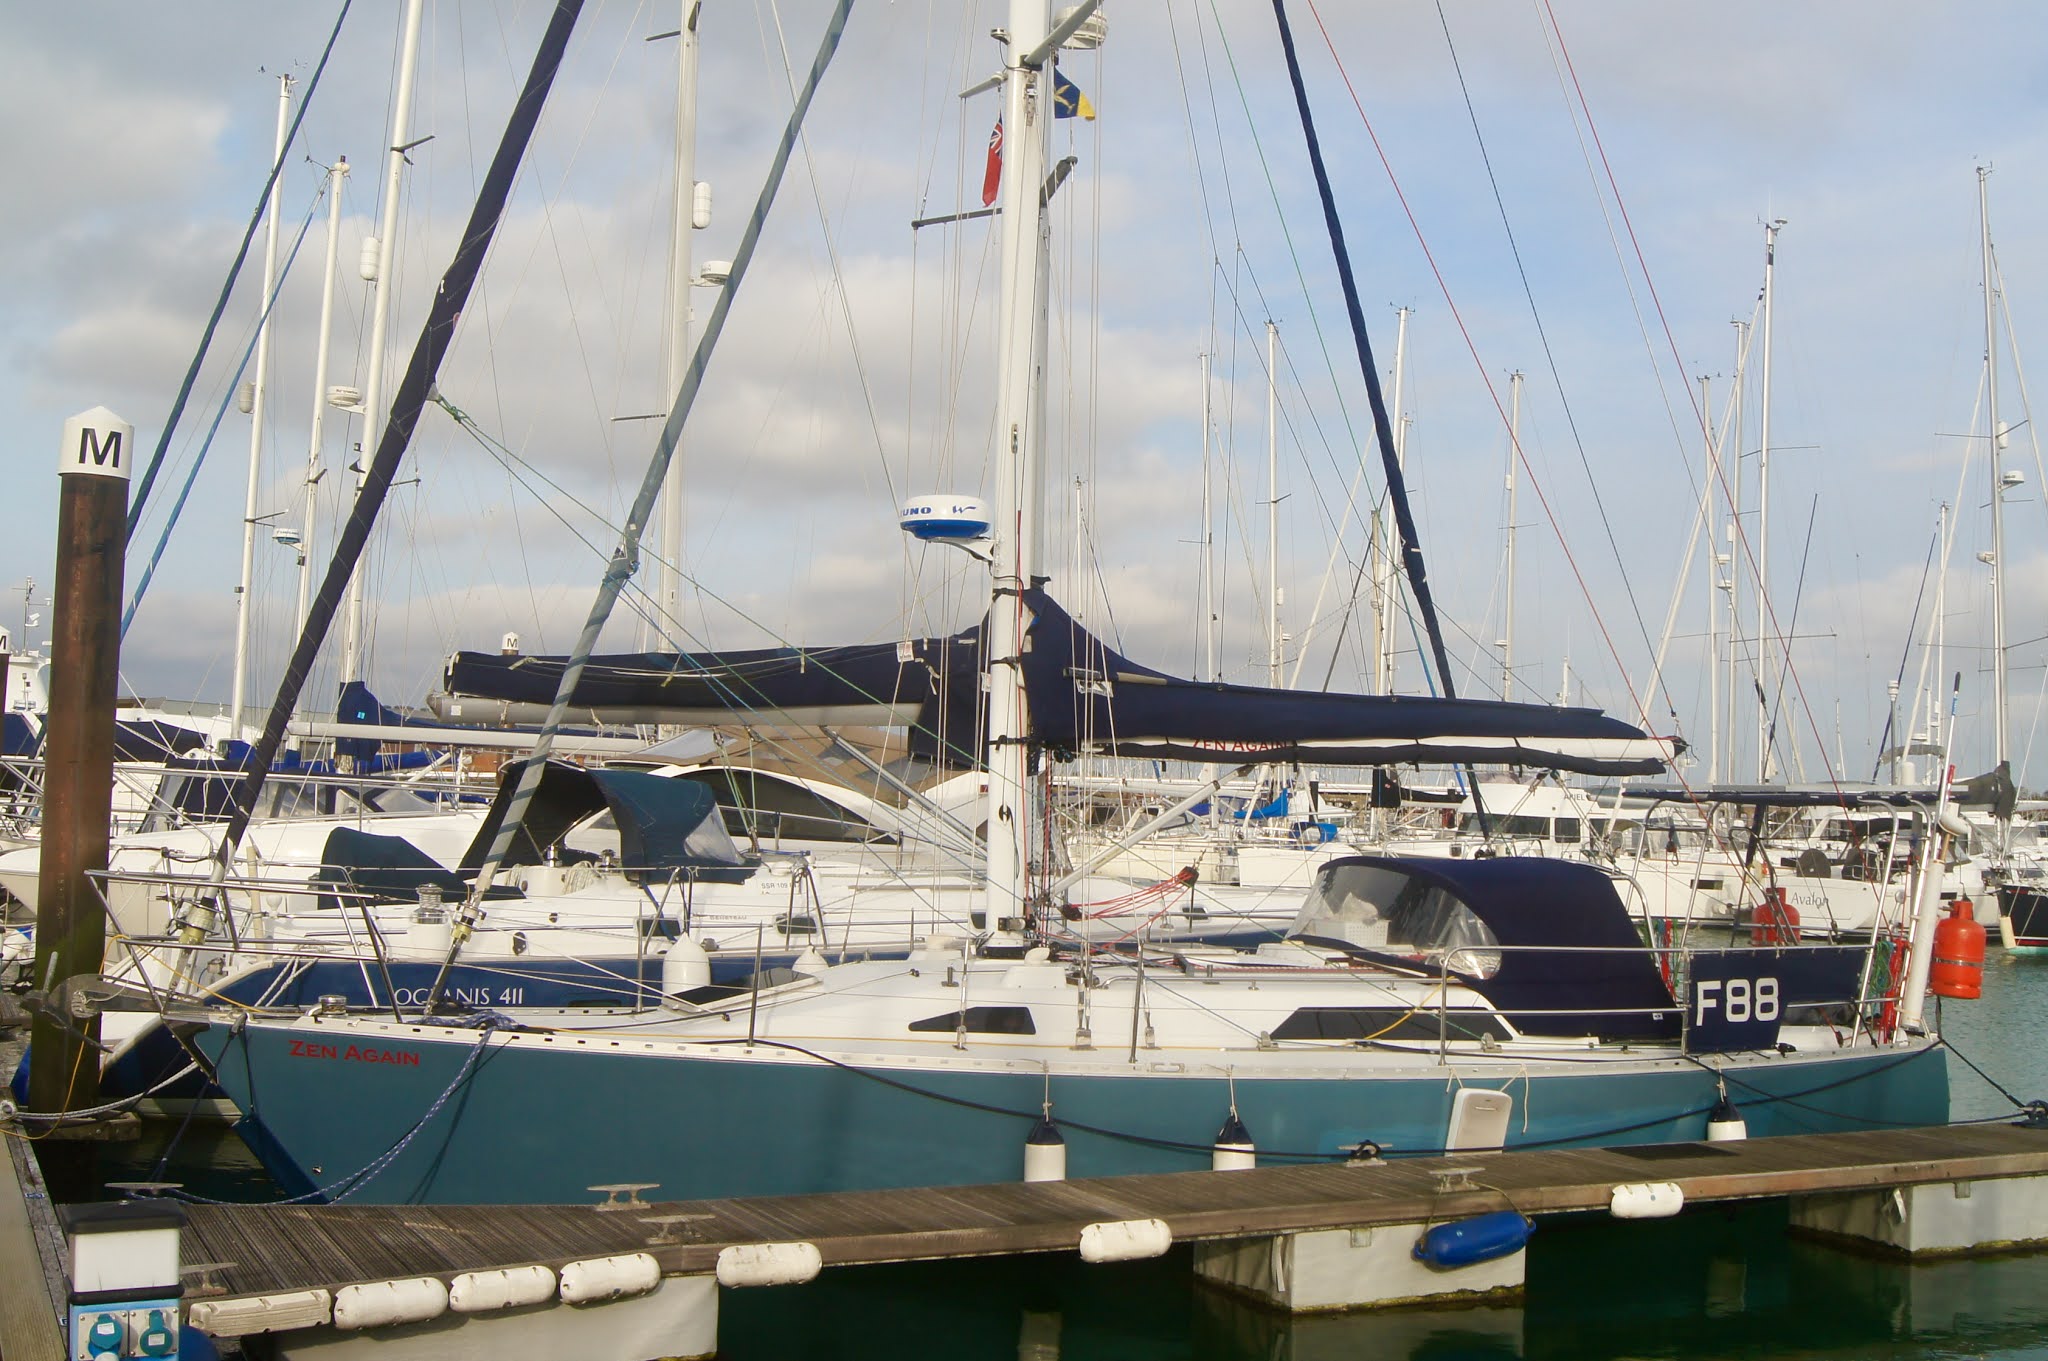
 |
| Mounted low since looking for rain not distant ships |
We had Marine Tech rivet the
ScanStrut mount to the mast. They had a much bigger rivet gun than ours! Mounting the radar itself was simple - just remove the four bolts, place the radar and refit the bolts. No need to open the radome.
I then had the fun job of running the power cable. That involved moving two halyards to free up a halyard slot in the mast at just the right height. Drilled a hole at the base of the mast for the cable to exit. Dropping and fishing out a messenger line proved very easy. Pulling through the cable needed two people to save time. Then feeding the cable through the boat to the navstation's circuit breakers was tedious but simple.
With the power cable connected via a 5A circuit breaker we were ready to test. Power on! We connected an iPad to the WiFi access point and started up the DRS4W Marine Radar app. It found the radar and displayed its Preheating page, showing that the radar was coming to life.
 |
| Starting Up |
With the two minute preheating of the magnetron complete the STBY page is displayed. This shows the total On and Tx times for the unit. We could then tap the Tx button and the radar picture appeared. The sweep period is about 2.5 seconds. The user interface is very simple with menu items accessed via the < on-screen button.
The image below shows rain setup which is one of several setup screens. Hopefully rain setup will work well for us.
 |
| Rain Setup |
The image below shows us in the pen in Gosport. The 20m deadband around the boat is clear. The linear rows and columns aft and to port are boats in the marina. The big return on our port quarter is a tanker berthed immediately outside the marina. Ahead of us is the shore with boats lined up on the hard.
 |
| iPad display |
Next we tried connecting an iPhone. Very simple. Up to two devices can be connected simultaneously. User input on either controls the display on both. On the iPhone the menus are accessed by tapping the screen.
 |
| iPhone display |
The DRS4W supports offsetting your boat in any direction, activated by simply dragging the display. It also supports a configurable guard zone. The image below shows the idea.
 |
| Offset and Guard Zone |
We were very pleased by the low power usage of the system. Much lower than our old system. The DRS4W draws 0.8A in standby and 1.6A when transmitting.
 |
| HMSs Queen Elizabeth and Prince of Wales fine on our port quarter! |
Looking forward to sea trials!


No comments:
Post a Comment